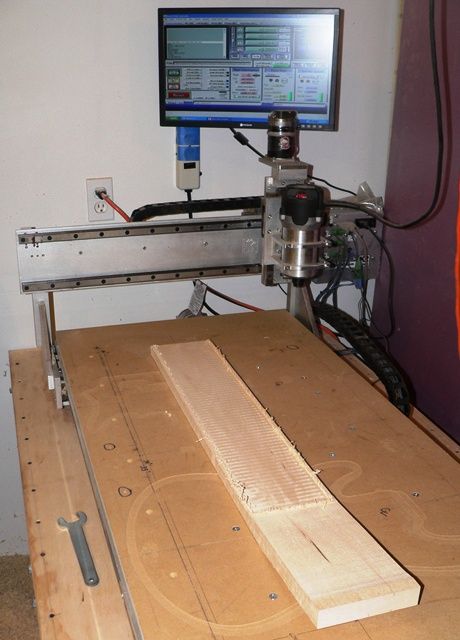
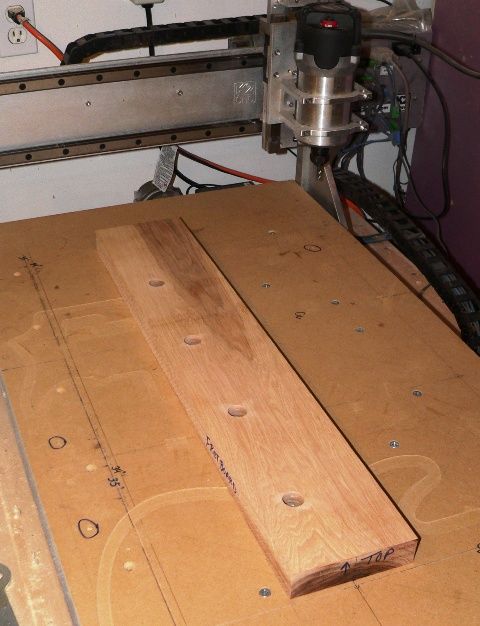
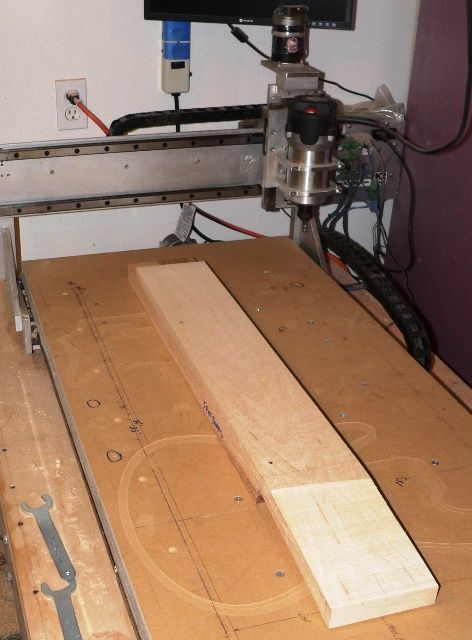
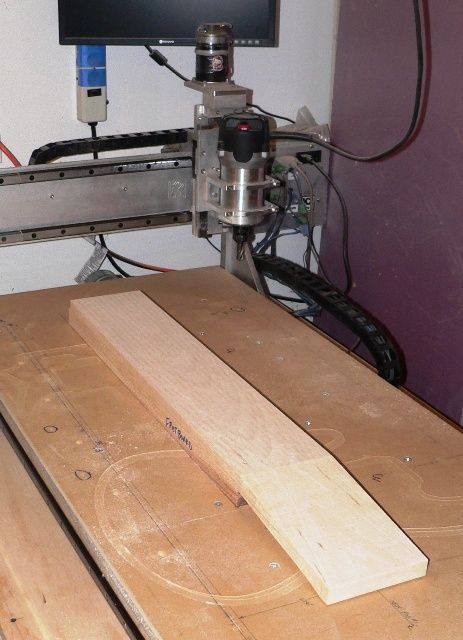
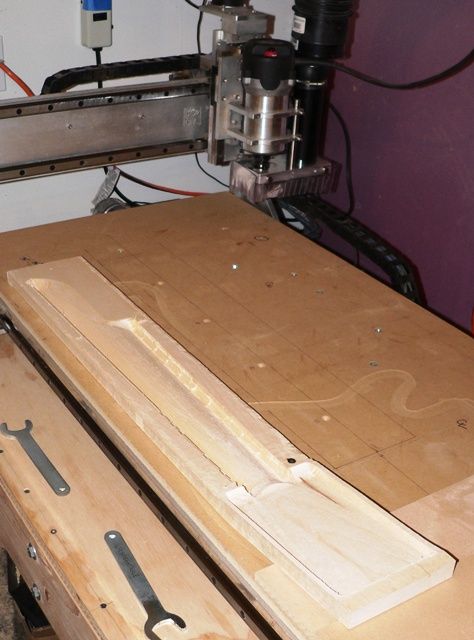
given loads of "think the process thru from start to finish" time while developing the CNC tool cutting paths, I've developed a strategy of three 'working' positions that fit within my CNC envelope (large purple rectangle area)
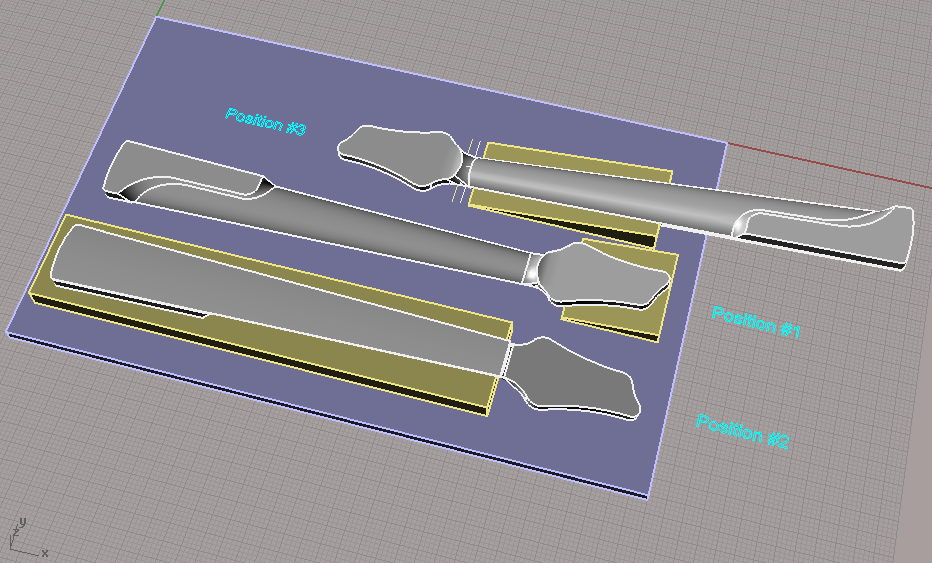
each position has multiple steps performed at it before the neck is promoted to the next position.
here's a brief of the steps:
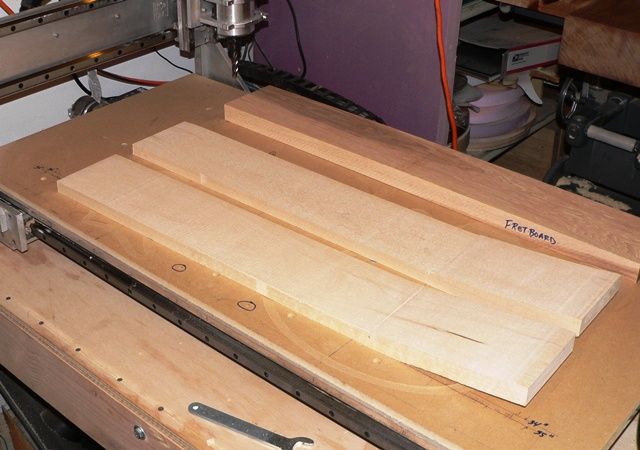
prior to securing to Position 1, I will have joined the fretboard face and rough cut much of the excess thickness from the rear side and headstock face leaving about 1/8" of material to be cut away via CNC (my neck blank glue-up makes two back-back necks that get cut apart prior to this step)
Step 1 (Pos 1) is to cut the rear flat face leaving a bit of excess stock for a later step, and then drill alignment pin holes
Step 2 (Pos 2) align on the pins, and machine the fretboard face flat, cut the headstock face to 7 deg, cut the trussrod and carbon fiber stiffening bar slots, drills fretboard alignment pin holes, and drill holes for tee nuts
Step 3 (off CNC) epoxy stiffening bars into neck slots, and then clean up fretboard gluing surface post cure
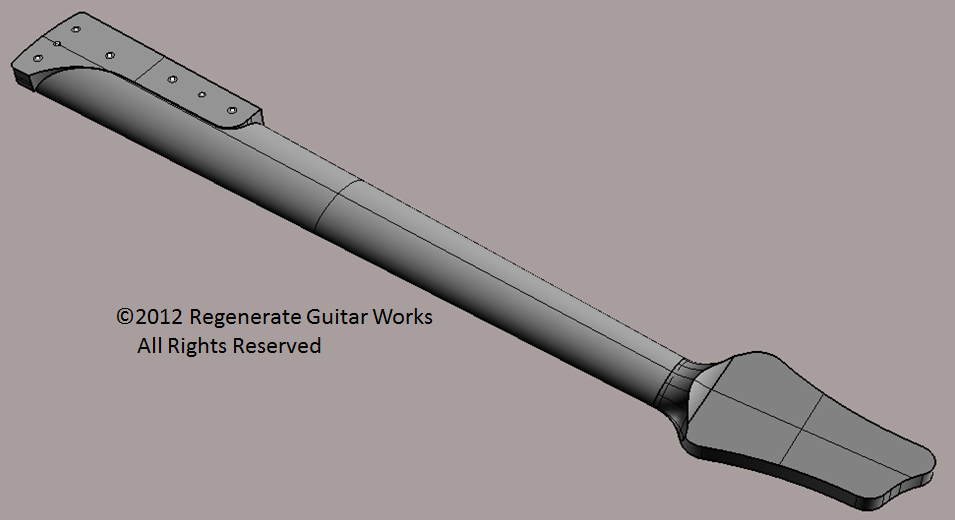
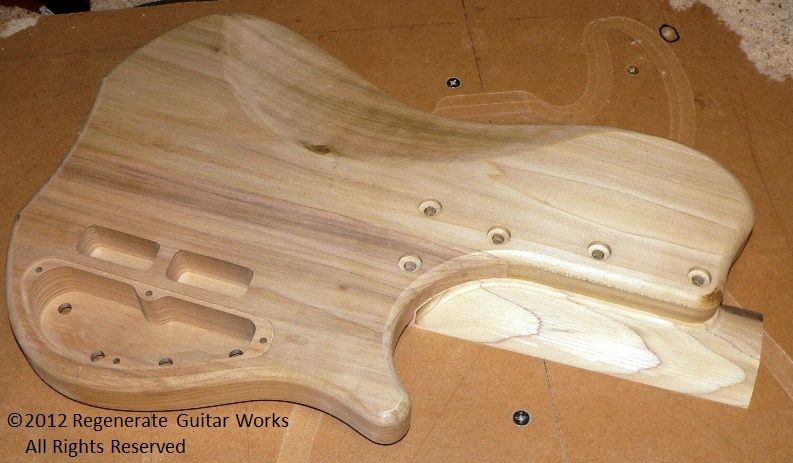
Step 4 (Pos 1) align on the pins, machine the heel face, rough and detail the rear neck contour, rough the rear headstock contour, and cut the neck shaft outline before drilling alignment pin holes for mounting the fretboard
Step 5 (Pos 3) align on the pins, and then machine the final headstock thickness, drill tuner holes, and then cut the headstock outline
I'm fabricating the positioning blocks this week, and hope to have everything ready for a full step-by-step test run the following week. I have to admit it - utilizing a CNC requires tons more brain power and process planning when compared to simply working an individual neck build with traditional hand and power tools ... but the long-term payoff in enhanced quality and repeatability is worth the added work for cases where I plan to build more than three or four of a specific design
it's fun to have all this coming together

all the best,
R


