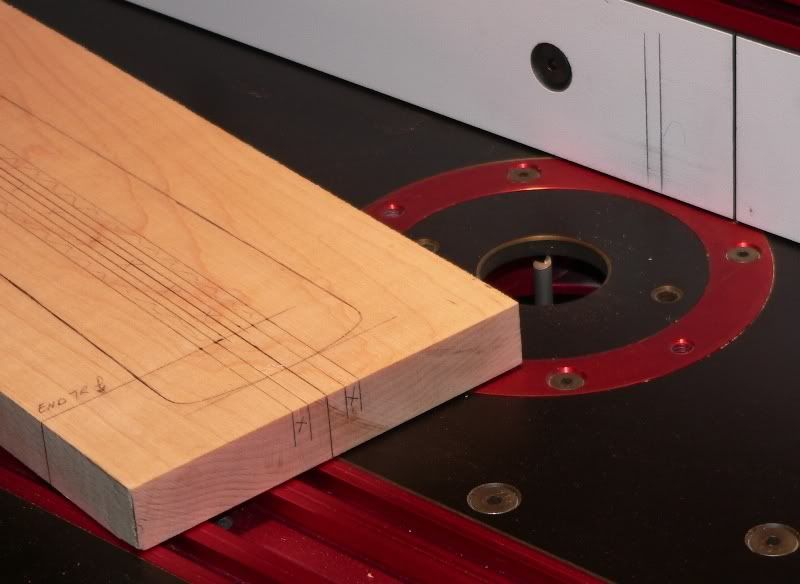
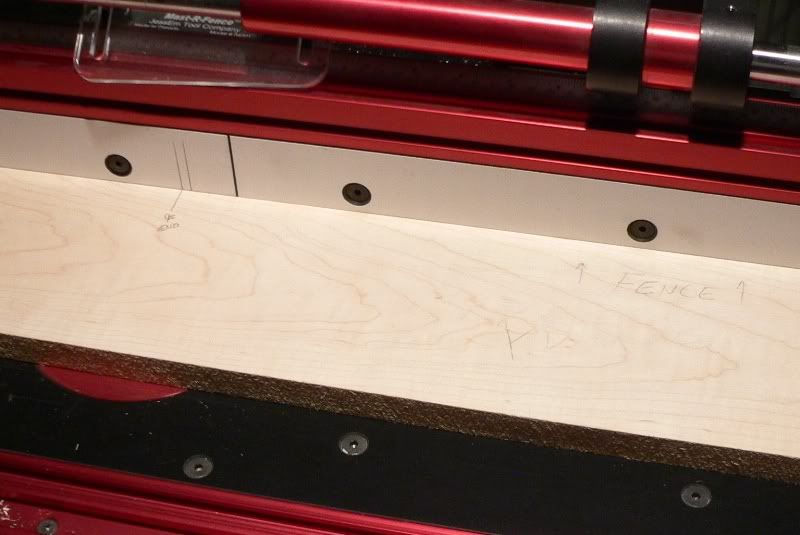
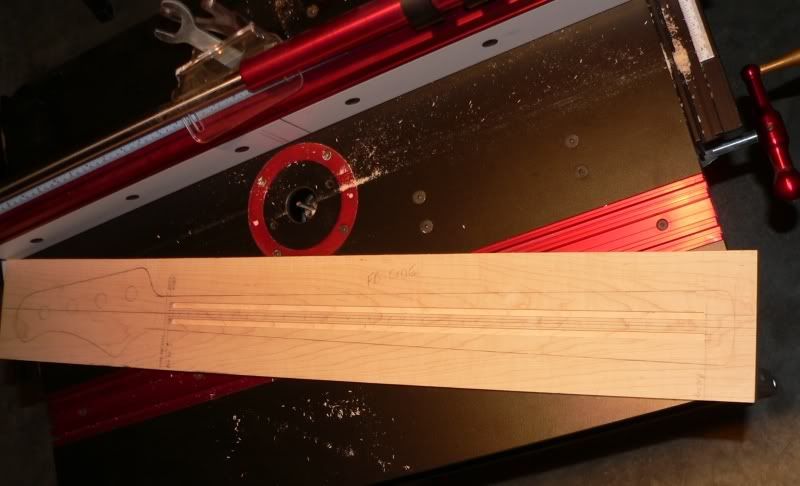
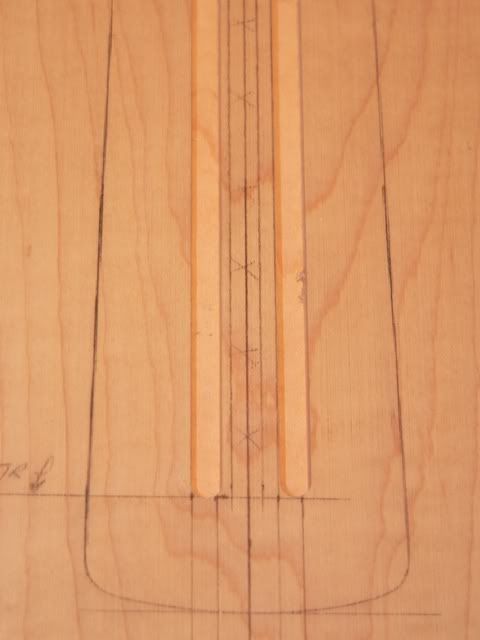
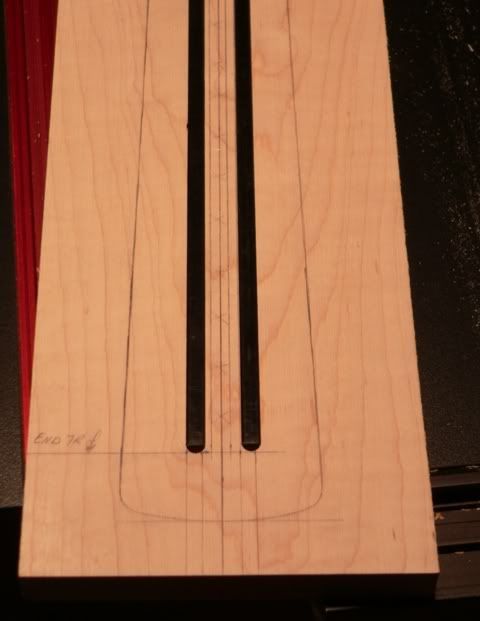
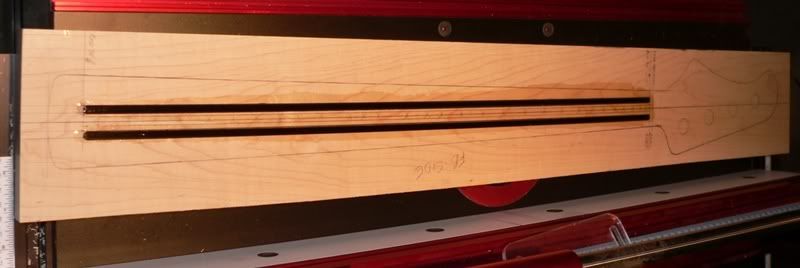
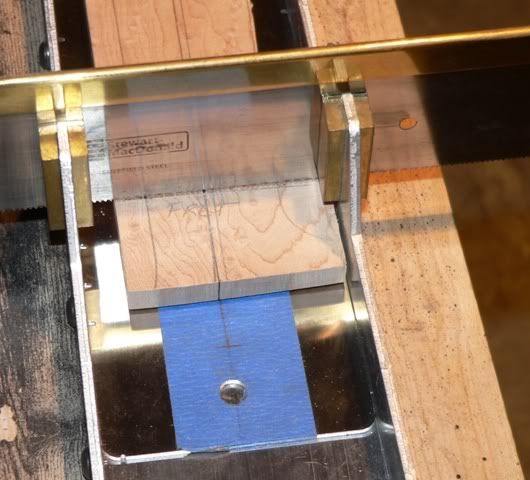
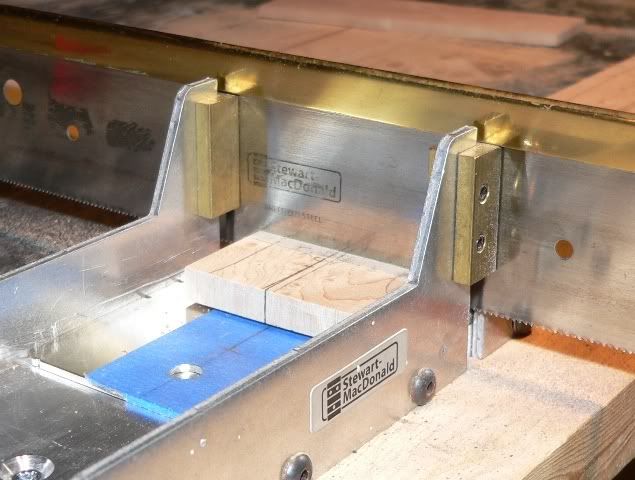
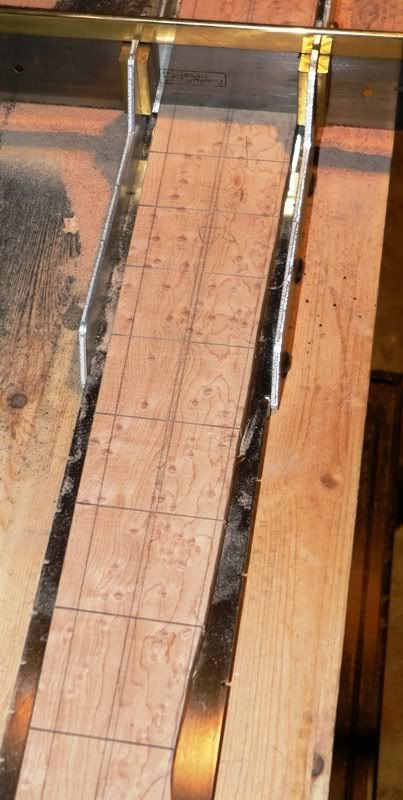
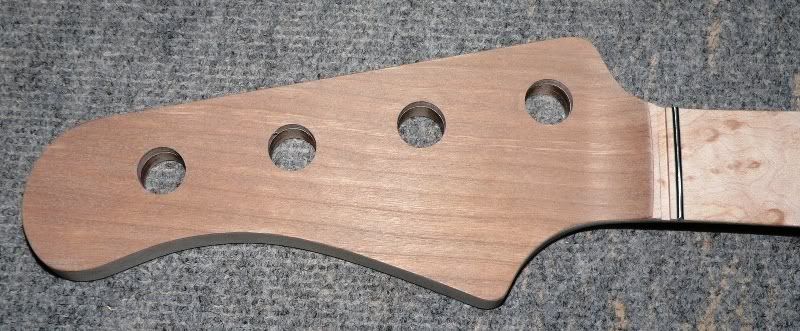
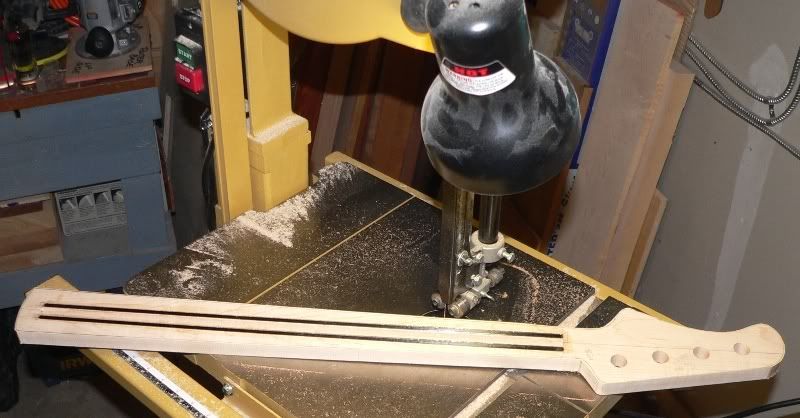
the next step in building a neck is to rough cut the neck shaft in preparation for shaping the outer profile to the dimensioned shape. I do this at the bandsaw by cutting just outside of the finished size lines.
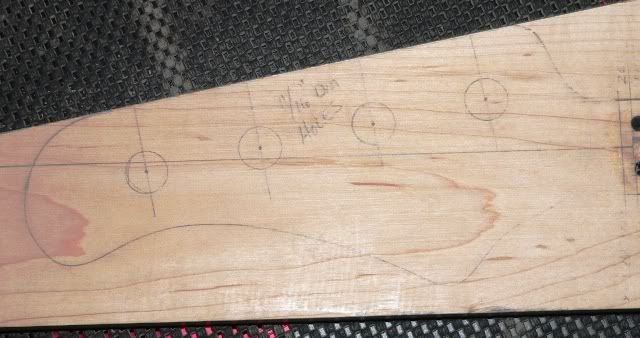
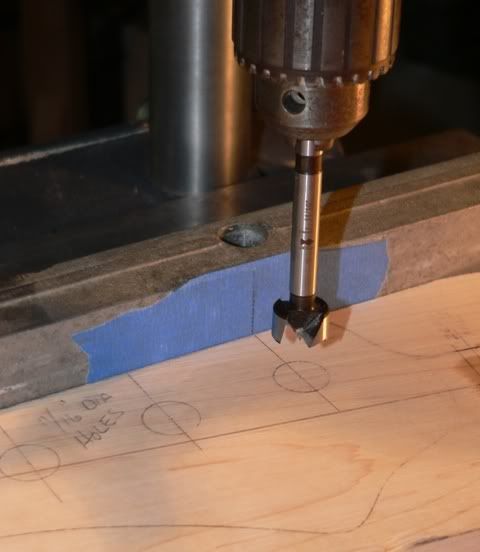
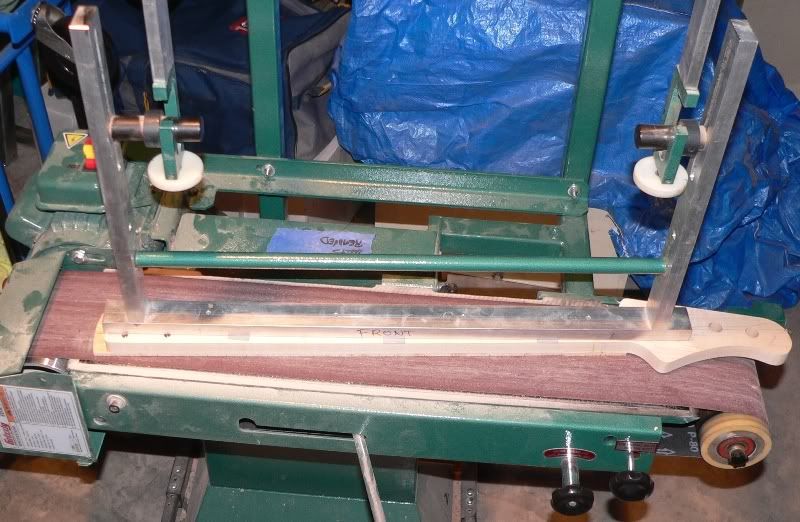
Next I detail the headstock shape and heel curvature with an oscilating drum sander before sanding the edges straight with a free-standing belt sander. You can see the rough cut is relatively close, but definitely not anything close to what you'd expect for a finished neck. In the process of sanding I'll utilize multiple drume sizes from 4" dia (shown) down to 3/4" dia for some of the tighter places on the headstock
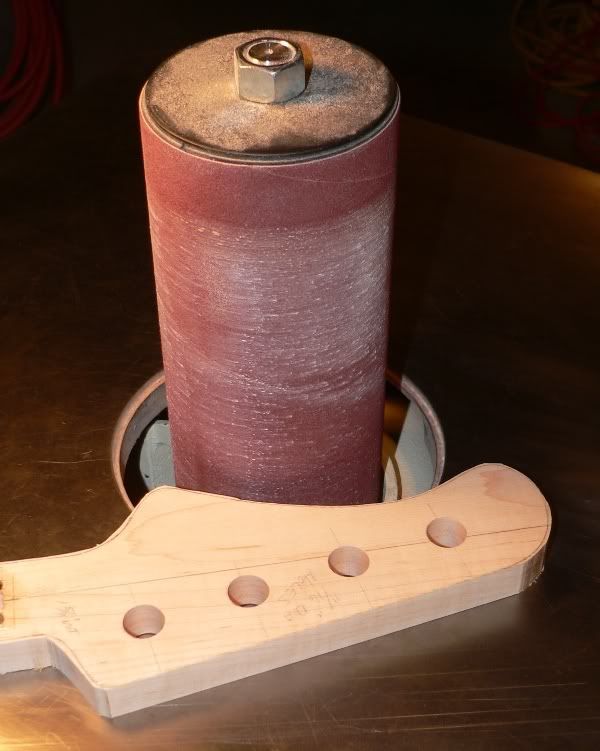
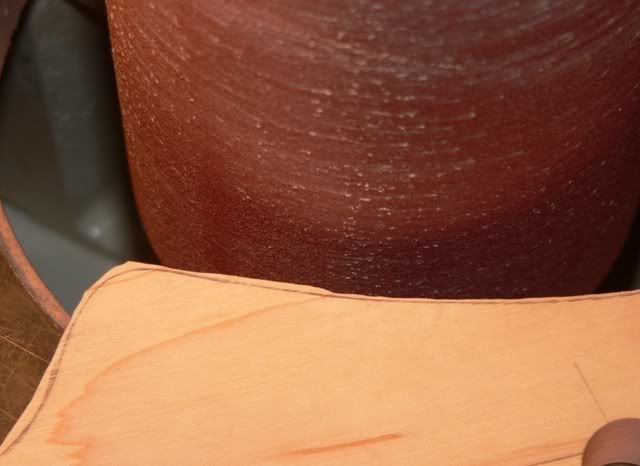
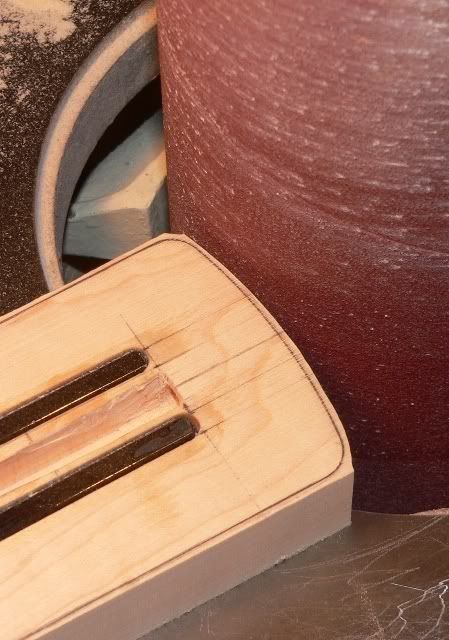
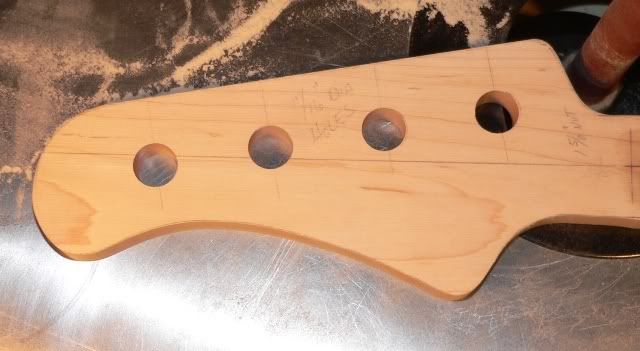
Here's the headstock with the edge line detail sanded
Once the heel is close to the finish outline, I start giving it a test fit to the body joint - I definitely don't want to take too much wood away and leave a loose fitting joint! I think this is just right
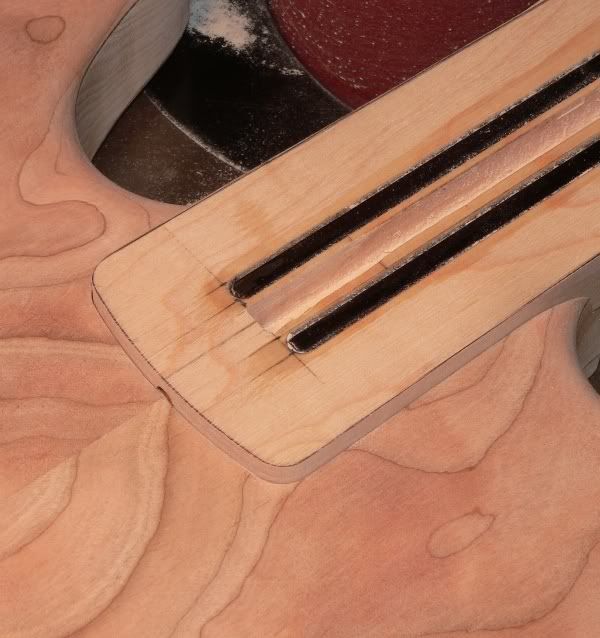
As you can see, the body still needs a trussrod adjustment slot ... this will be taken care of at a later time
When all of the detail sanding is complete and everything fits to perfection, I'll attach the fretboard blank to the detailed neck shaft (remembering to first insert the trussrod! don't ask me how I know this is important

)
Before attaching the fretboard, it's also important to veryif that the trussrod is workable in its full range of use. Here you can see that I have tightened it far beyond what would be done for neck adjustments - so it's a go to glue on the fretboard
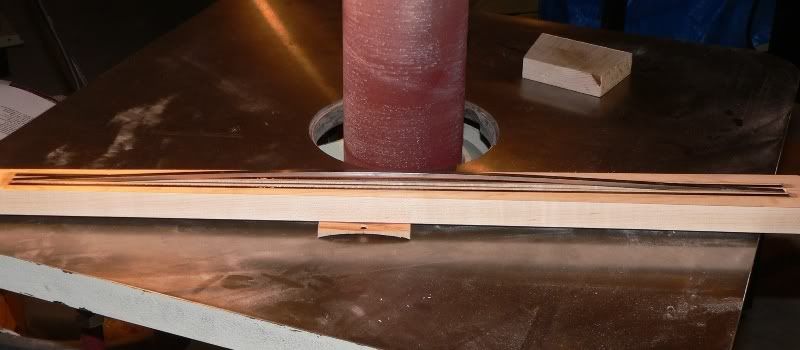
Since this is a Maple neck shaft mating to a birdseye Maple fretboard, the perfect glue of choice is Titebond Original. I preparation for gluing I run the fretboard and neck shaft thru the drum sander to remove any dings that might have occurred during construction so far. I then use 120 grit on an orbital sander to apply a non-uniform grit pattern to the sanding marks.
Next I remark the centerline and zero fret line on both the neck and fretboard gluing surfaces. I then apply a staple near the zero-fret end of the fretboard blank, and also at the heel end of the neck shaft. I will then snip the staple off leaving about 1/32" of stub remaining of each post - these will act as tracktion anchors that prevent the neck from slipping when first glued (lubricated) and fit together under clamping pressure. Here's the before and after on the fretboard staple
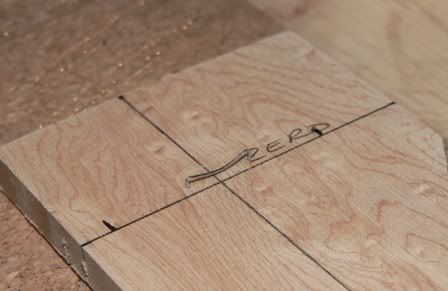
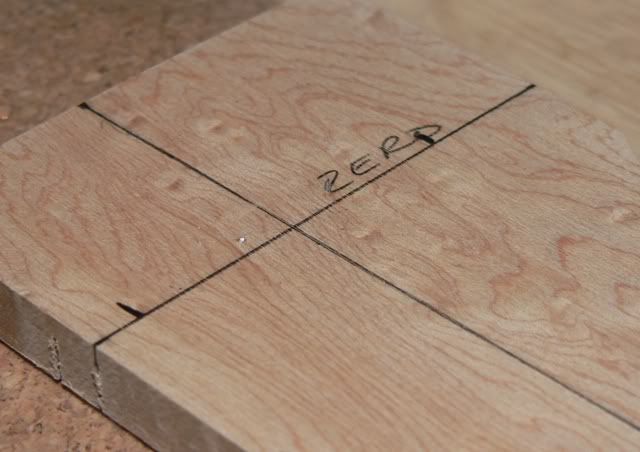
I also tape over the trussrod threaded blocks (both ends) to prevent glue seepage onto the threads when the clamps are applied
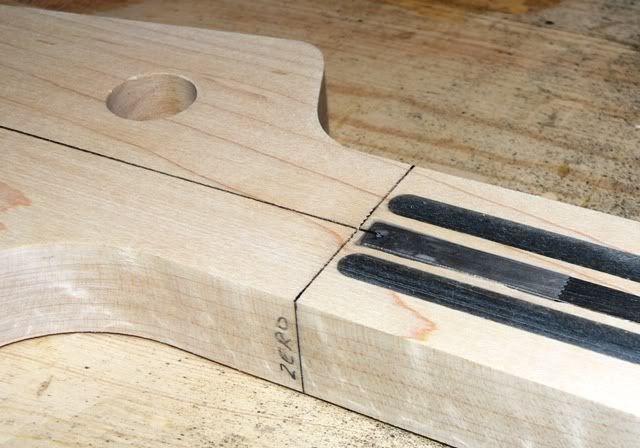
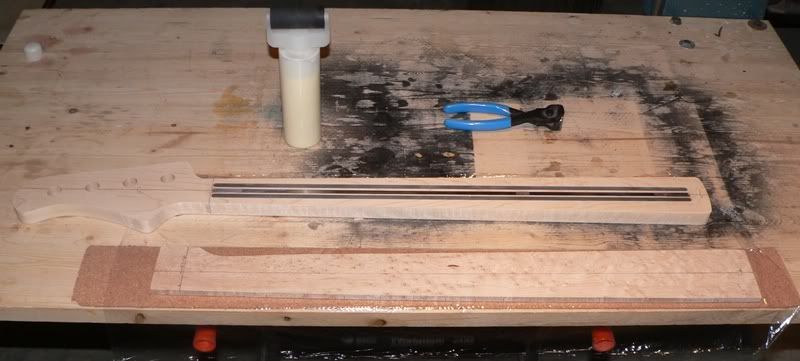
Once these minor details are completed, it's time to glue. In the below image you can see the fretboard blank resting on top of a cork caul - this helps to even the clamping pressure across the entire fretboard - and that it's covered with a piece of plastic wrap (to prevent any glue that seeps out from sticking to the cork.) behind that is the neck shaft. you can also see that the bottle of glue has a spreader roller to speed up the glue application process and to minimize the amount of excess glue that gets applied
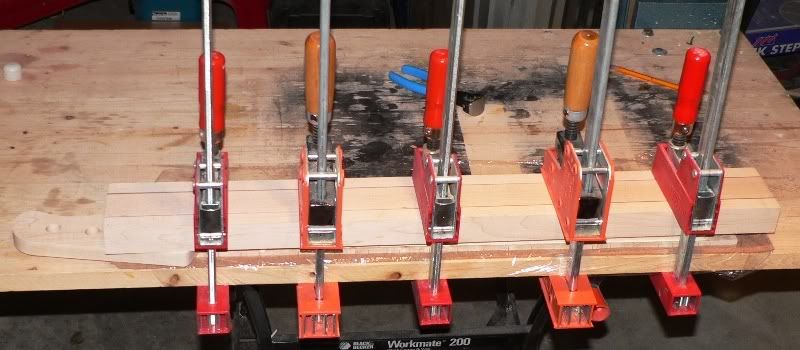
once the glue is applied I align the neck shaft and add another clamping calu on top of the neck - this again helps to evenly spread the clamping pressure across the glue joint. I then begin clamping at the middle and work my way to the ends, clamping with just enough pressure to firmly compress the cork and squeeze out some of the excess glue
it's important to use the right amoount of clamping pressure, and to ensure that the pressure is distributed evenly. I also want to see a small amount of glue seepage all around the joint so I know that I have a good, wet contact all around
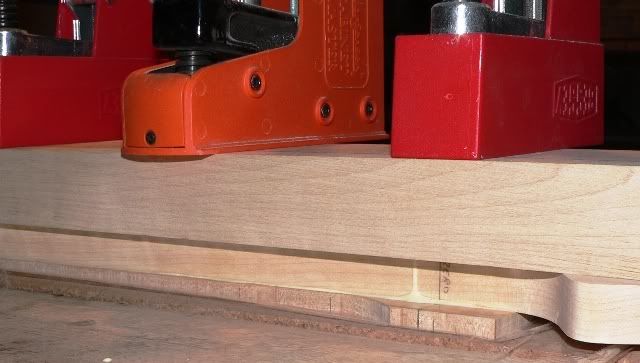
this will dry under pressure overnight, and then I'll remove the clamps and hang it to continue drying out until the moisture content added by the glue perspires off and stabilizes.
that's it for this step of the process - it's quite a lot of work for a single step ... the next one will be significantly less work, but will really start to transform the look and feel
all the best,
R


