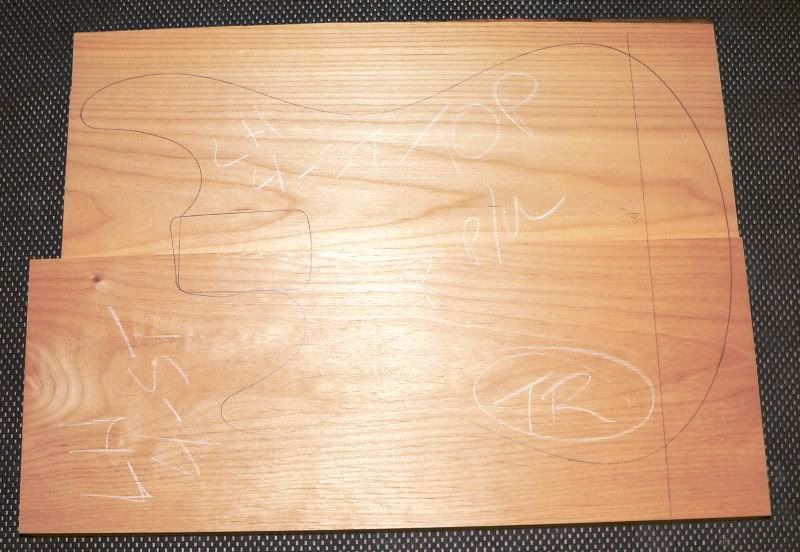
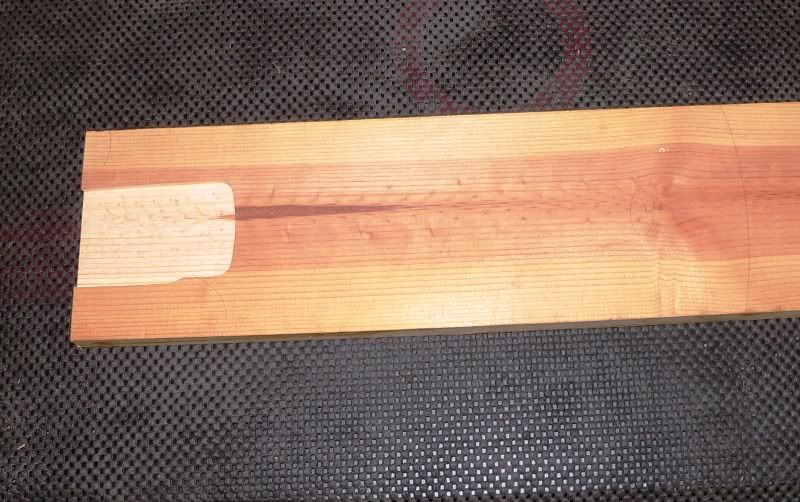
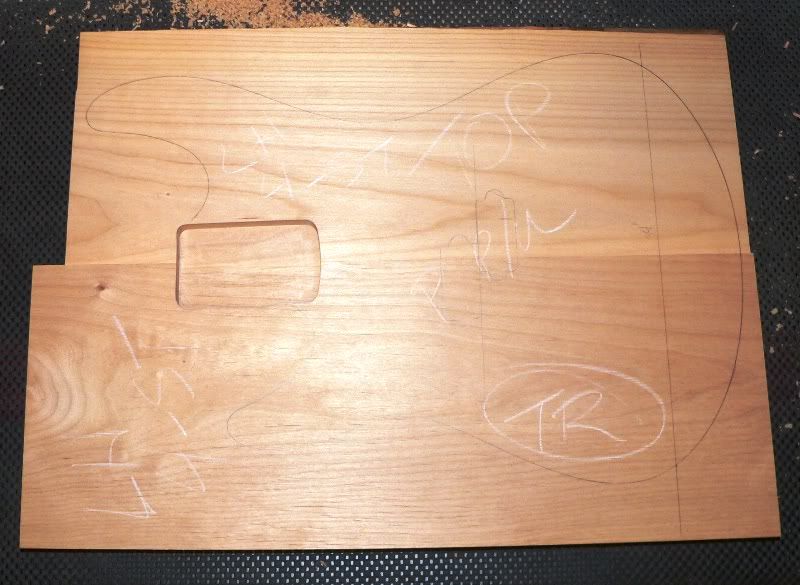
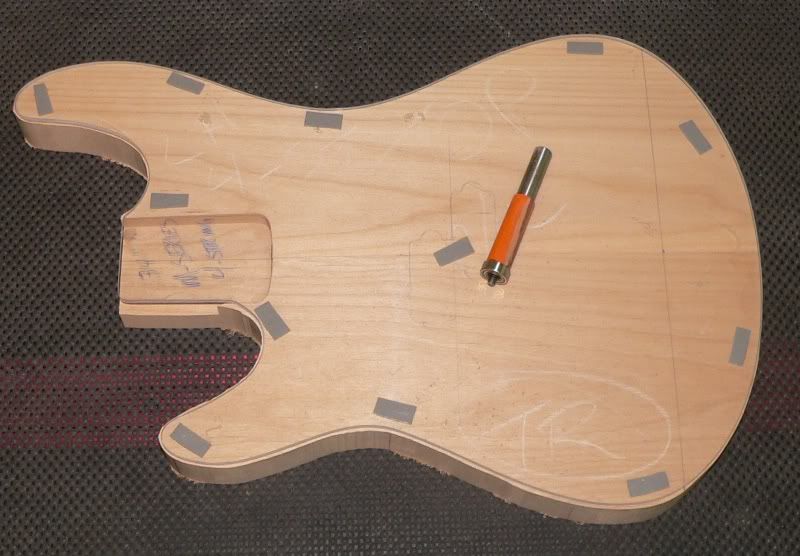
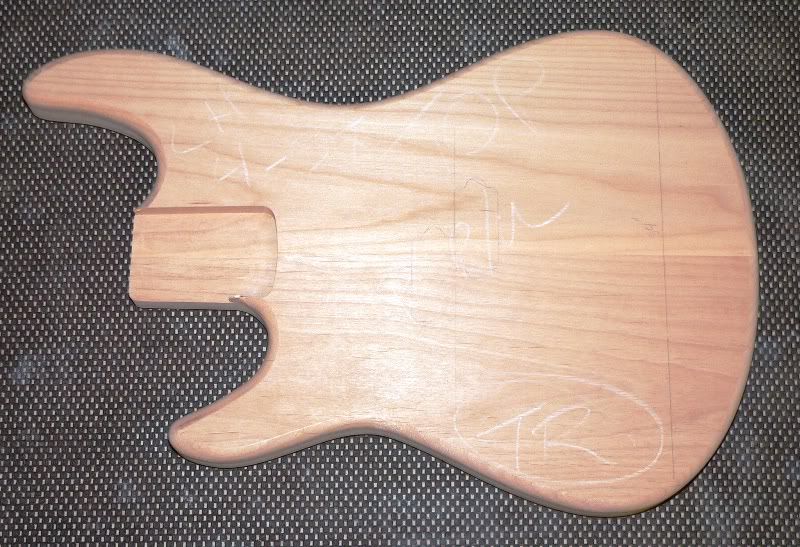
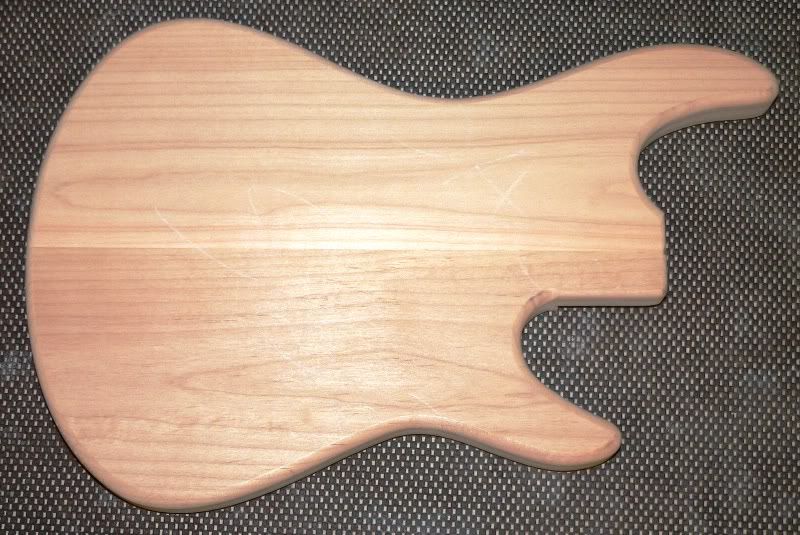
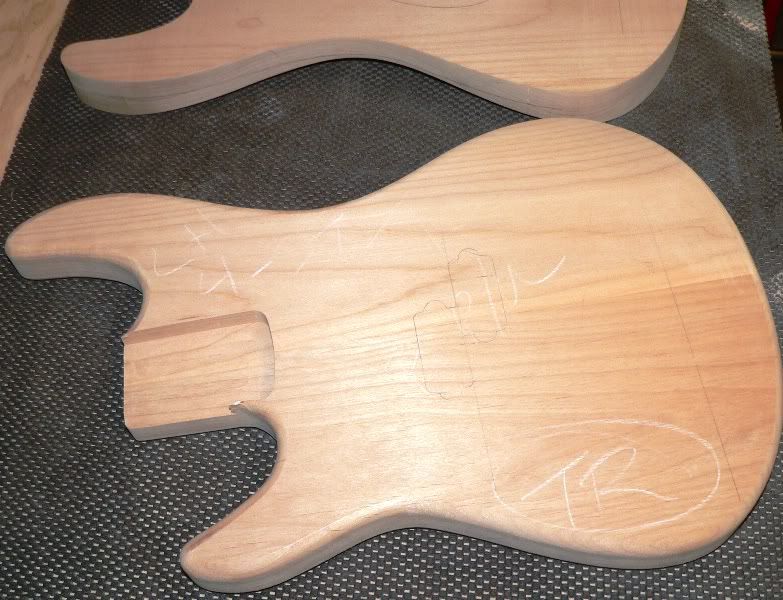
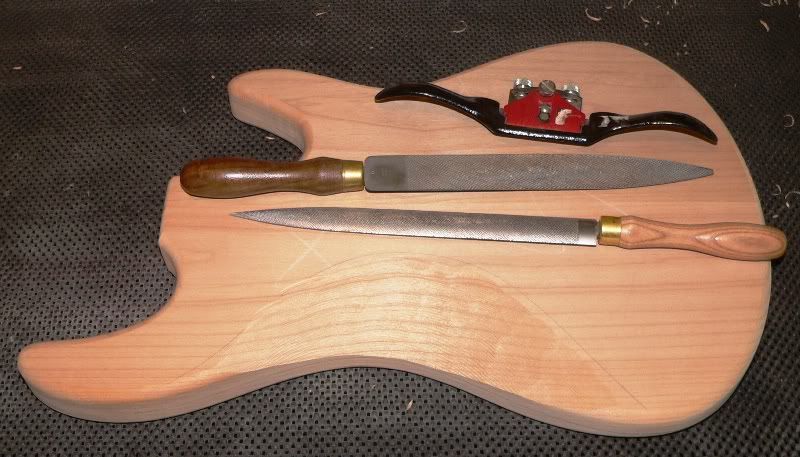
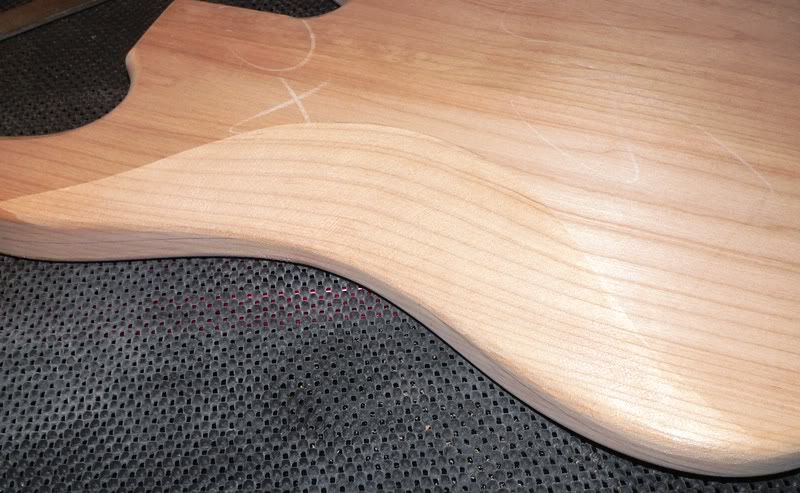
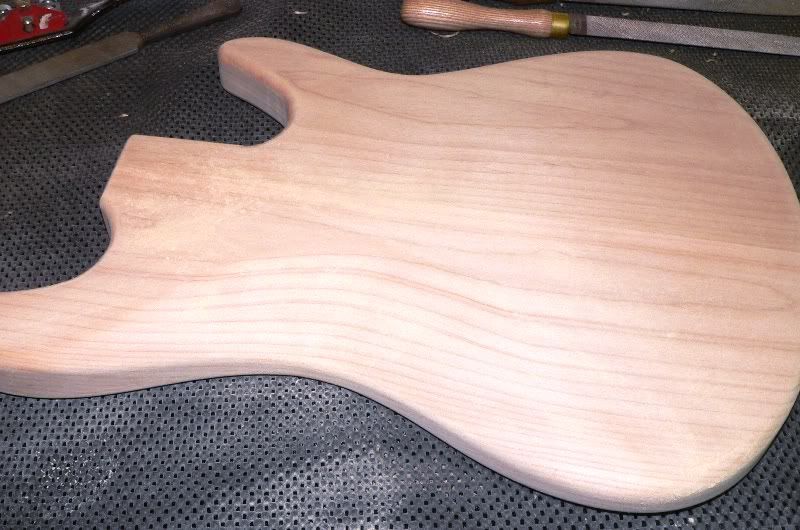
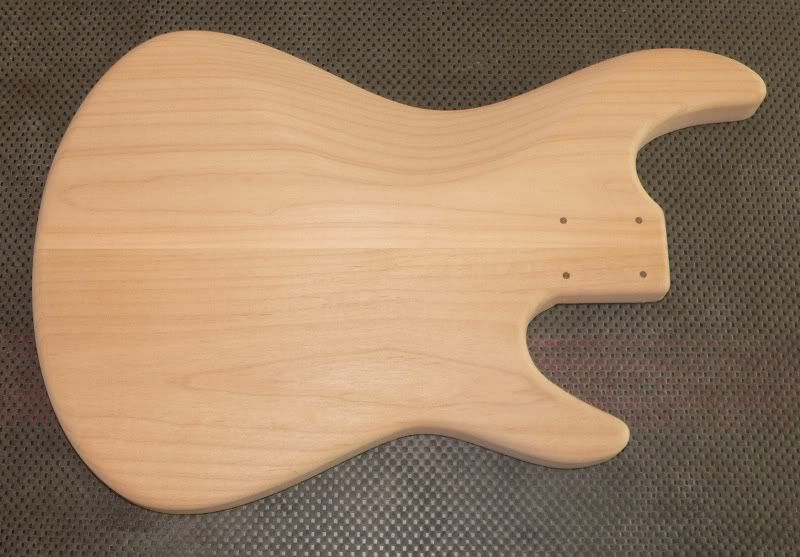
had some great shop time this morning, and pretty much have this body completed and ready for sanding in prep for paint ...
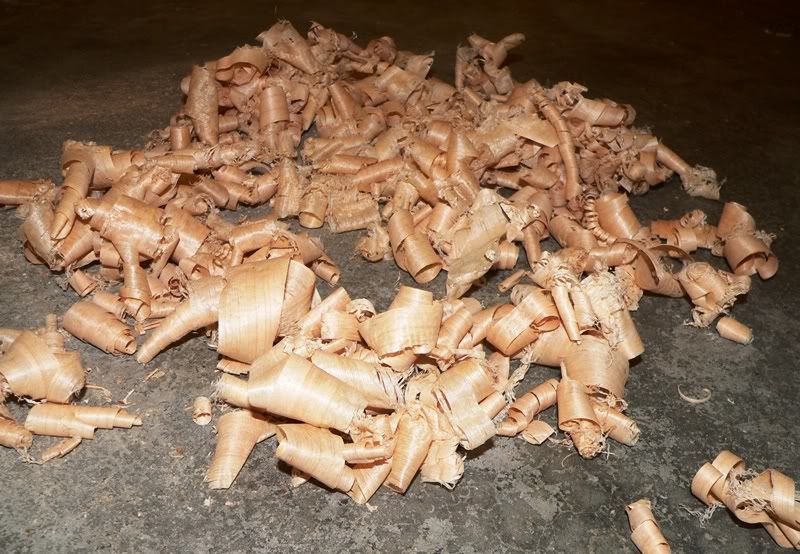
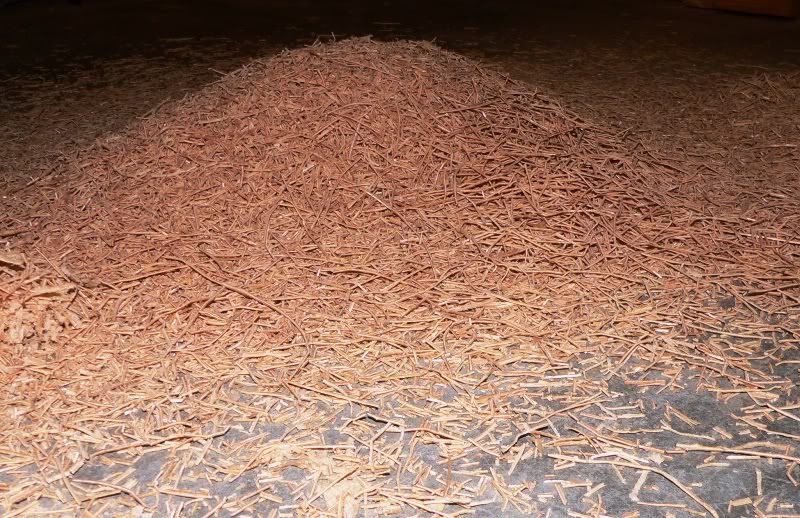
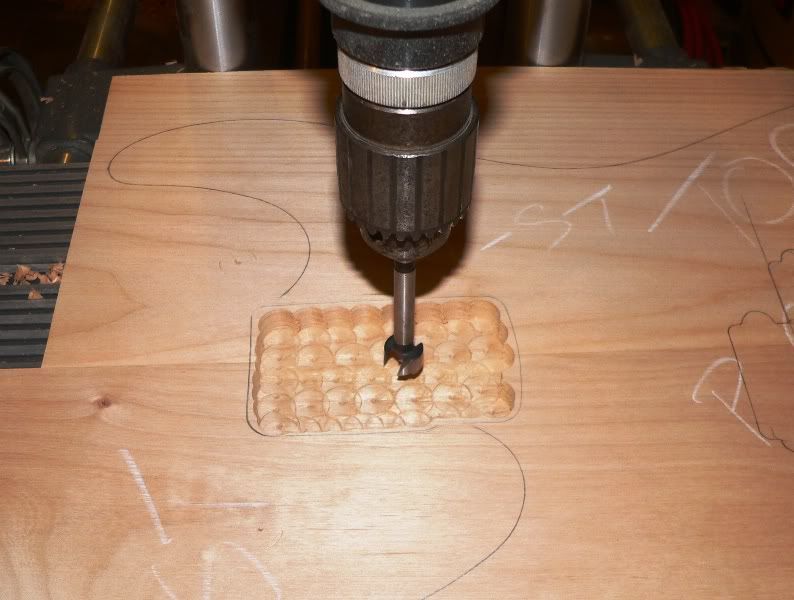
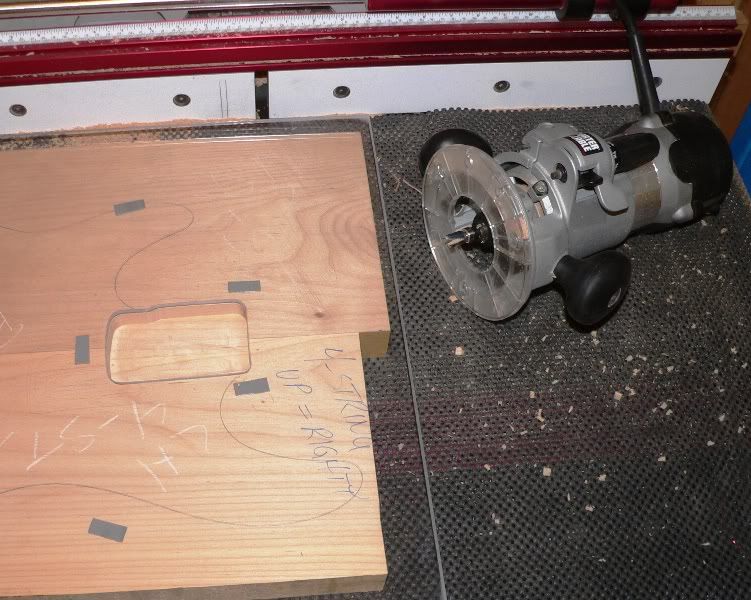
- completed the pickup routin template, and following the Forstner bit wood removal technique used on the neck pocket I removed the bulk of the wood from the pickup cavity. I then followed-up by locating the template and cleanin up the pocket with a pattern bit in the router
- layed-out the top routed control cavity, cleaned out the bulk of the wood with a Forstner bit, detailed the perimeter edge with two different rasps, and used a combination of router bits to detail the cavity edges and bottom face
- drilled the wiring tunnel from the pickup cavity to the control cavity, and also added a tunnel to connect the bridge grounding wire to the control cavity
- drilled the neck mounting holes
- used a bullnose bit with a bearing on the shank to route a trussrod adjustment slot at the base of the neck pocket. all of my necks are built with a heel adjust trussrod, and this slot allows you to easily adjust the trussrod without having to loosen/remove the neck. depending on customer preference, pickguards are made with or withour a corresponding slot ... those without a slot need to be removed to gain access to the trussrod adjustment nut, but this option definitely has a cleaner look
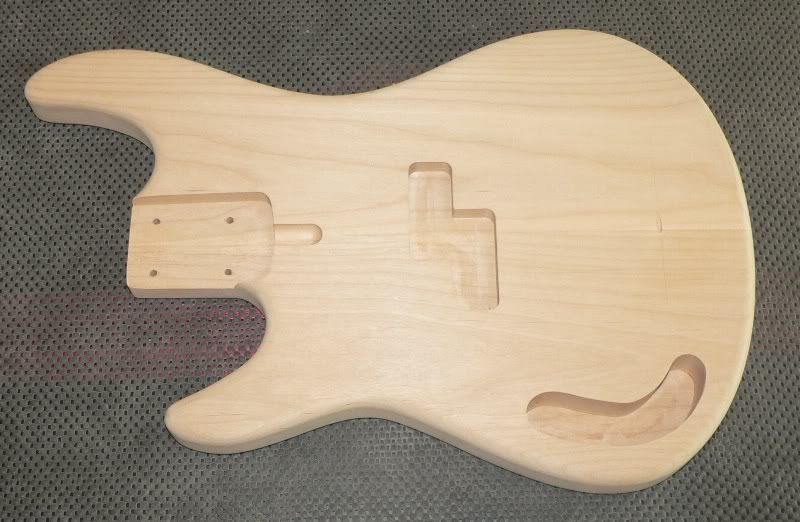
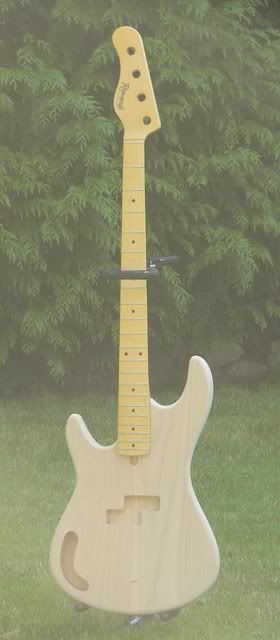
just for fun I attached a finished neck to this body so you can see the overall look. I didn't catch that there was a ton of dust on the lense until I started editing images
all that remains on this body is to sand, sanding, sanding, sanding, and then a little sanding in prep for painting.
all the best,
R


