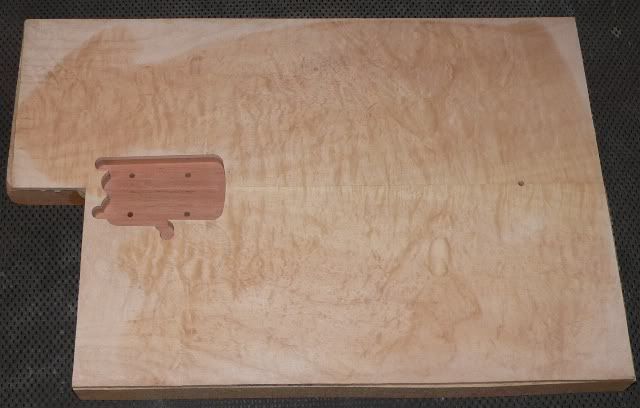
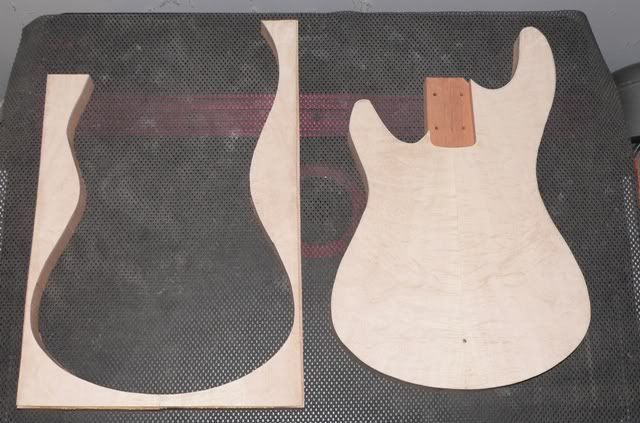
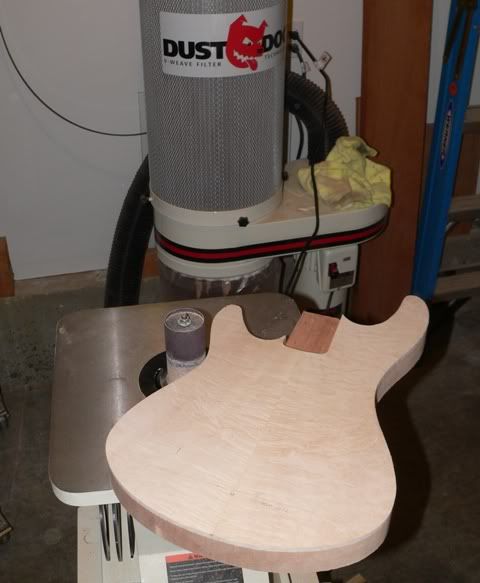
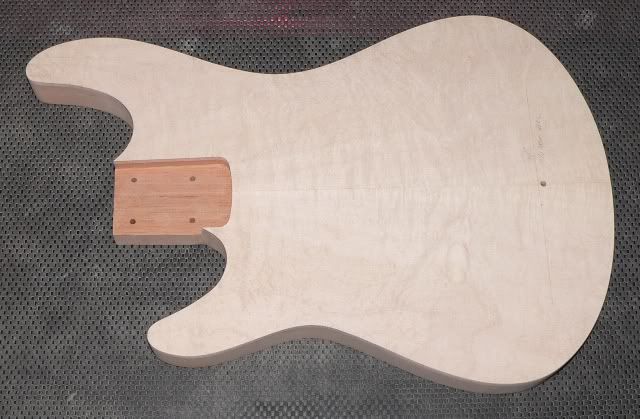
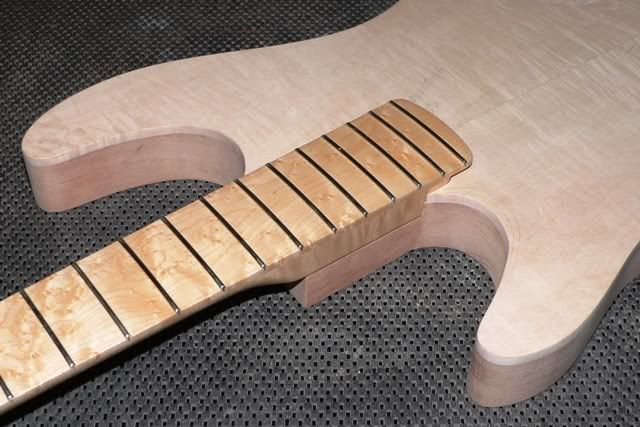
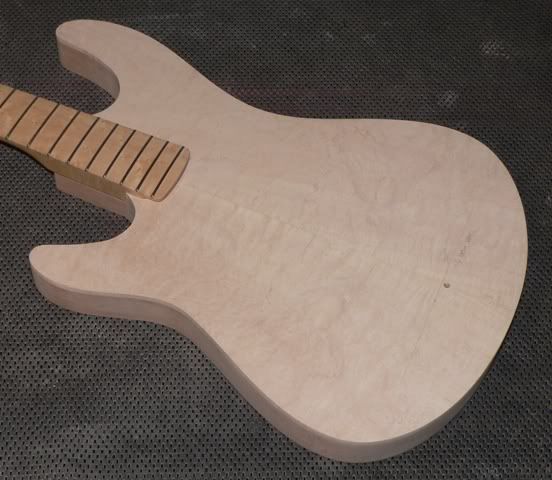
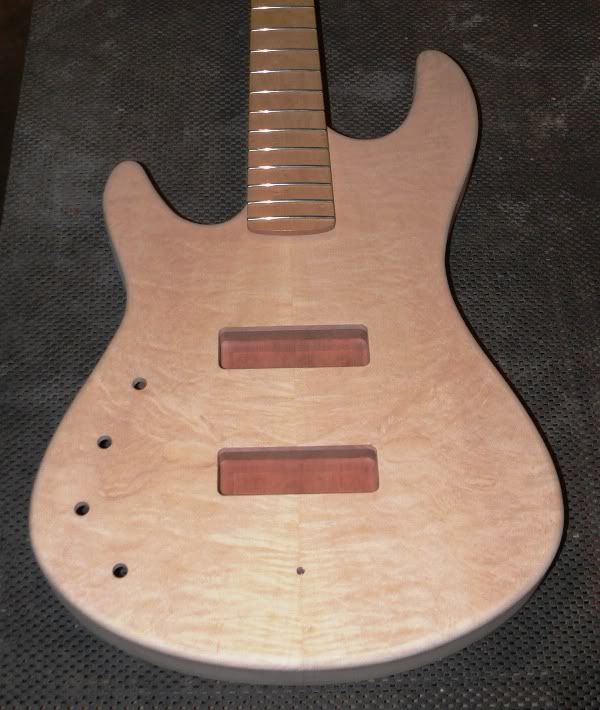
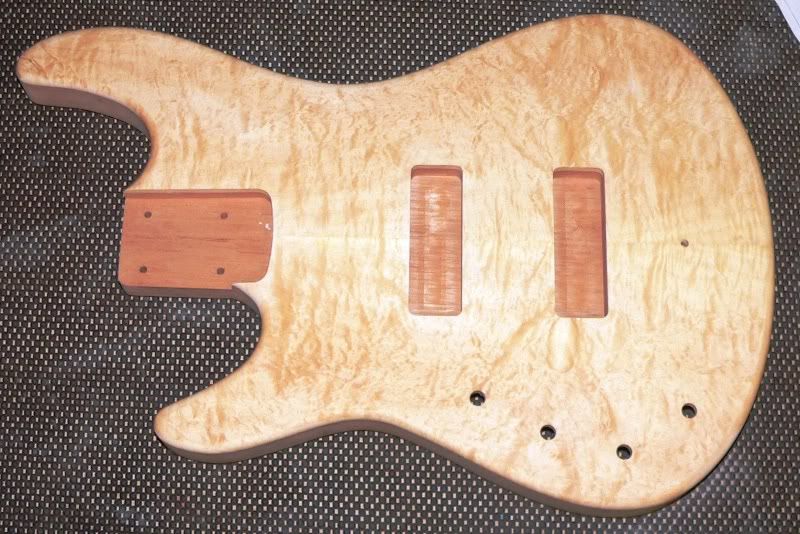
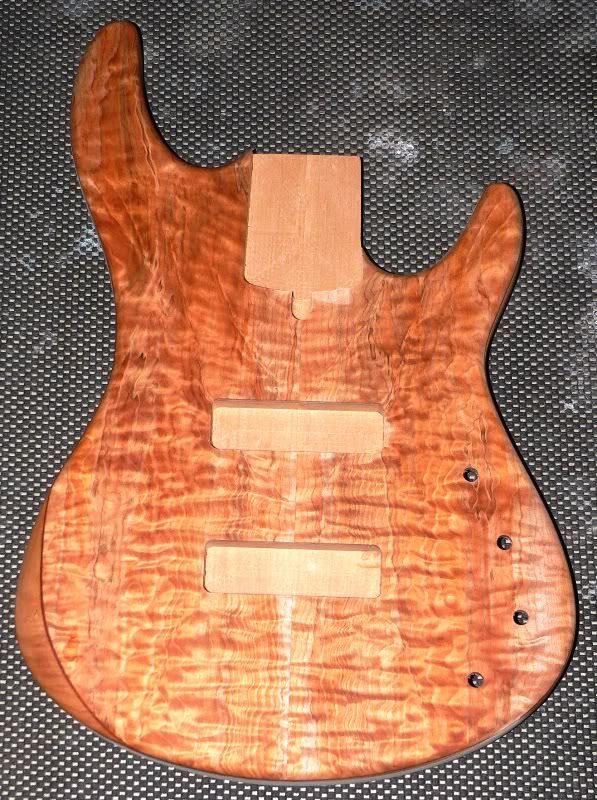
Documenting the first M-Series lefty build from genesis to completion …
Specs:
• Spanish Cedar body core with figured Maple top, Honeyburst finish (similar to the first lefty Axiom)
• AAA Birdseye Maple neck, zero-fret, 12”R fretboard, 34” scale, 21 frets, bone nut
• Nordstrand Big Singles pickup set
• Nordstrand 2-band preamp configured Vol (pull bypass) + Blend + Passive tone + Active Bass/Treble stack
• Hipshot Type A bridge, alum core, .75” string spacing
• Hipshot Ultralights with Y-keys
• Chrome hardware
• Dunlop strap locks
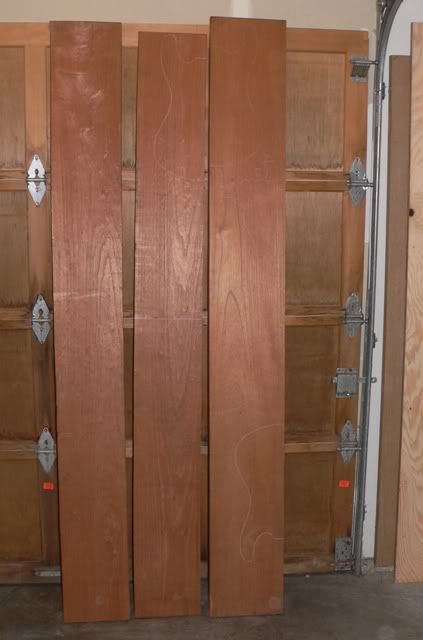
The rough kiln-dried Spanish Cedar 8/4 lumber was selected at a lumber yard about 4 hours drive from my shop during a vacation this past August. It’s been acclimating in my shop for several months now
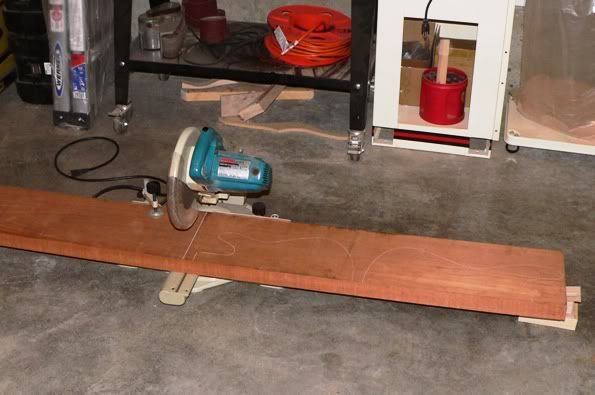
After selecting the board for this build, I first shorten it to a workable length with a miter saw. Notice that I have shims at the ends so that the board will not drop (or worse – that the miter saw will suddenly tilt while the saw is still running!) once it’s been cut thru. I leave these shims just shy of touching the ends so as not to bind the saw blade while cutting
Once I have a workable size I square the edges with a jointer. The intended outcome is that I’ll have edges that are exactly perpendicular to the face and also perfectly level and smooth along the glue edge.
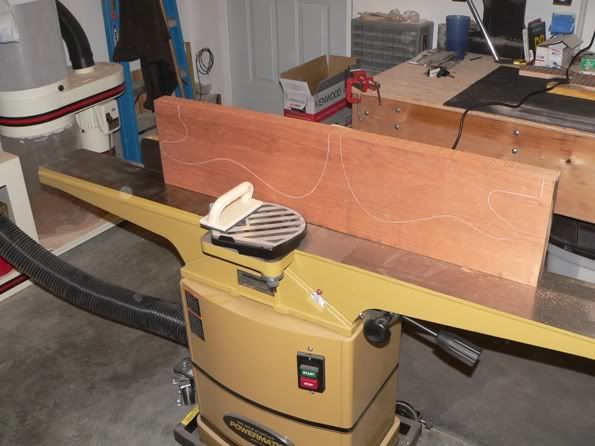
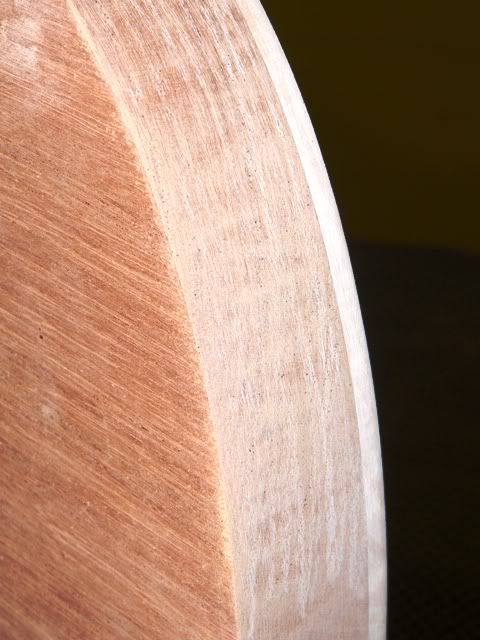
Before and after images of the glue edge
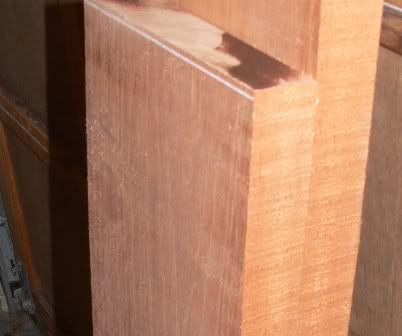
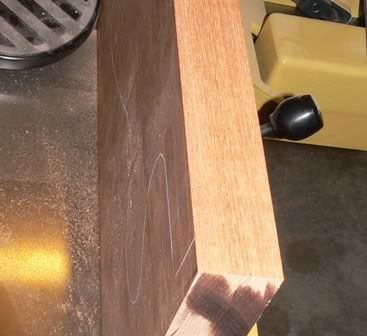
The jointer I’m using has a helical cutting edge, so the freshly jointed edge is significantly smoother than what a standard 2 or 3-blade cutter head will produce. This said, the edge fresh off of a jointer still needs to be hand detailed to remove all of the minuscule ‘cups’ the cutting blades leave behind. The cups from a helical head are pretty much non-existent, but they are there if you use high quality measuring tools to find them. The cups from a standard cutter head can be felt if you carefully run you finger down the edge, and will require more clean-up attention. One other key benefit of a helical cutter head is that is more forgiving of highly figured woods, causing less tear out on flame, birdseye, and burl figures
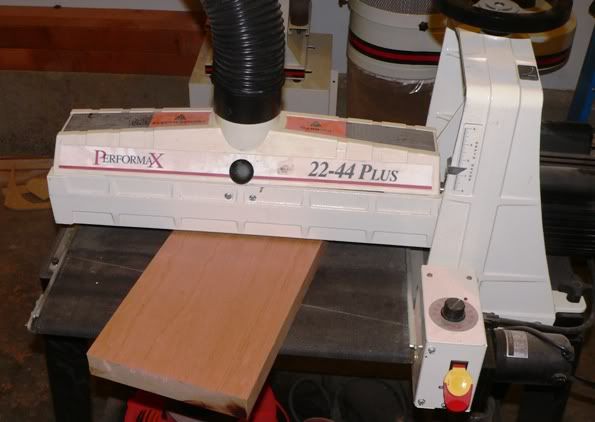
Once I have the glue edge detailed, it’s time to thickness sand the boards to within 1/32” of the final body core thickness. I will first cut the body core section into two pieces so I eliminate the potential for snipe. I’ll then alternate running each piece thru for a given thickness reduction, setting the board at a slight angle to help the sandpaper cut the grain easier. Spanish Cedar can get fuzzy if you run the piece straight on along the grain, and this will bog down the sanding drum. For this phase of the thicknessing I use 80-grit paper on the drum
It’s now time for a dry-fit to ensure the glue joint is tight and that the grain is aligned for a pleasing pattern. If I don’t have a perfect fit prior to adding clamping pressure I’ll detail the joint further until it simply disappears when lightly pressed against the mating piece.
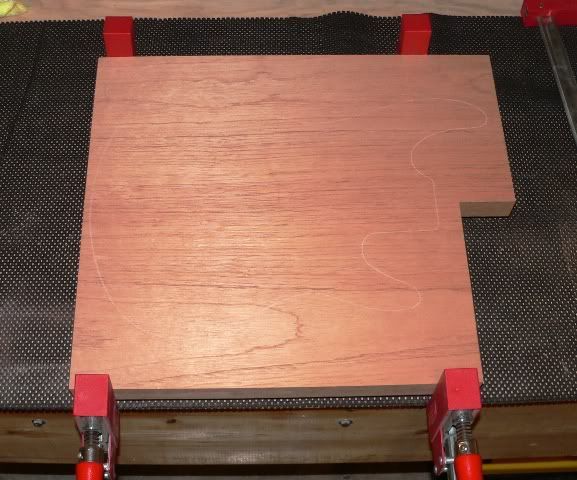
Once I’m happy with the joint it’s time to apply an even coating of glue along the mating surfaces and clamp them together with even pressure from both sides of the body core. I like to use clamps from alternating sides so to help eliminate any clamping stresses that could arise from clamping just one side. I also want to see glue squeeze-out evenly along both sides of the entire joint
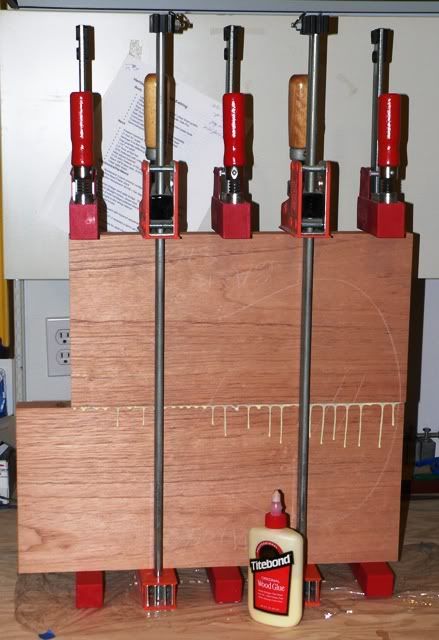
The body core blank will now sit to cure for 24+ hours depending on the wood species.
More to come in the next installment. Until then …
All the best,
R


